Outdoor furniture in New Jersey gets destroyed by winter. Snow piles up on cushions. Ice cracks plastic parts. Wind rips tarps loose until they’re flapping around the yard like flags. Come spring, that patio set needs serious work or outright replacement.
Shrink wrap fixes most of these problems. It creates a tight seal that keeps moisture out, prevents mold, and blocks UV damage. Unlike tarps, the wrap doesn’t blow off in the wind or collect water in sagging pockets. Done right, shrink wrapping protects outdoor furniture through the entire winter and leaves it ready to use when weather warms up.
The process isn’t complicated, but there’s definitely a right way to do it. Here’s what works for protecting outdoor furniture through harsh NJ winters.
Let Us Protect Your Outdoor Furniture With Shrink Wrap
Why Shrink Wrap Beats Tarps
Tarps seem easier at first. Throw one over the patio furniture, tie it down, finished. This works for maybe two weeks. Then the wind hits and the tarp rips loose. Rain pools in saggy spots. Moisture gets trapped underneath and mold starts growing on cushions.
Shrink wrap forms to the exact shape of whatever it’s protecting. Heat from a propane torch or heat gun shrinks the plastic tight against the furniture. Wind can’t get underneath. Water runs off instead of pooling. The tight seal keeps moisture from getting trapped, where it causes mold.
Quality marine-grade shrink wrap also blocks UV rays that fade cushions and damage plastic or painted surfaces. Tarps don’t do this. Shrink wrap typically lasts the entire season without tearing or coming loose, while tarps need constant fixing and replacing.
Get the Right Material
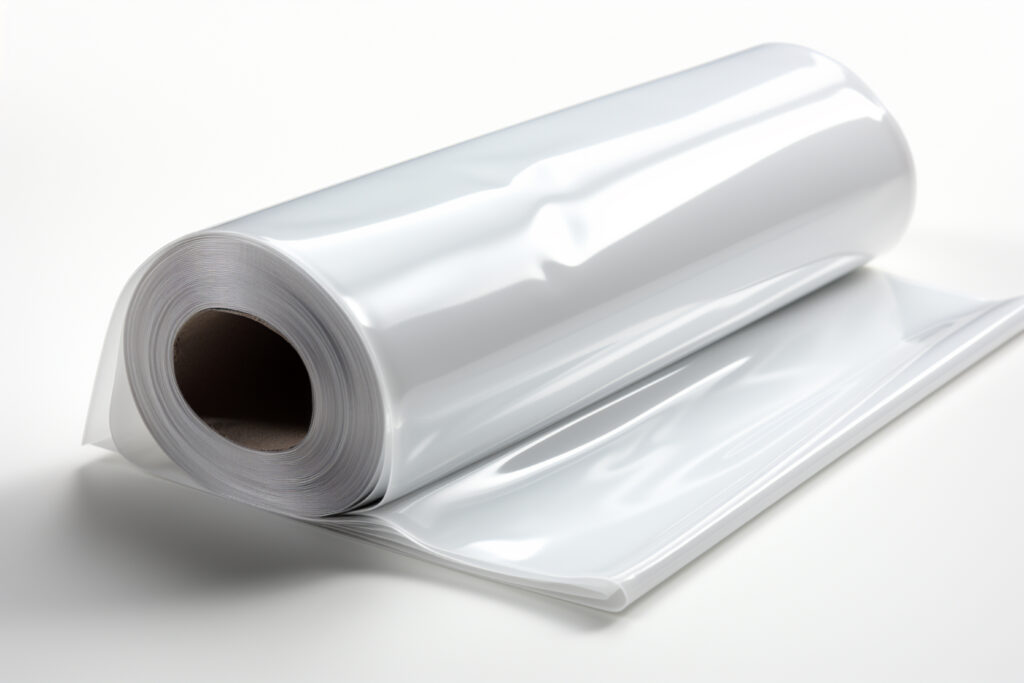
Not all shrink wrap survives winter weather. The thin stuff used for packaging won’t cut it. Marine-grade shrink wrap designed for boats works best for outdoor furniture.
Look for wrap at least 7 mil thick. Six mil works but tears more easily. Seven or 8 mil handles November through March in New Jersey better. The material needs UV treatment to prevent breakdown from sun exposure.
Width matters based on furniture size. Shrink wrap comes in 12, 14, 17, 20 feet wide and larger. Measure furniture including stacked pieces to figure out what width works. Too narrow means piecing sections together, which creates weak spots. Too wide wastes material.
White or clear are standard options. White reflects heat on sunny winter days, preventing the greenhouse effect inside. Clear lets you see the furniture if you want to check on it mid-winter.
Prep Work Matters
Shrink wrap locks in whatever condition the furniture is in. Wrapping dirty, wet furniture guarantees mold and stains by spring.
Clean everything thoroughly first. Wash cushions and let them dry completely. Wipe down frames, tables, hard surfaces. Check for food debris that attracts animals. Remove standing water from umbrella holes or anywhere else it collects.
Dry time is critical. Furniture must be bone dry before wrapping. Trapped moisture creates mold problems. Pick a dry day with low humidity for wrapping. If furniture got rained on recently, wait a few sunny days.
Stack furniture to minimize wrap needed. Chairs can stack seat-to-seat. Tables nest together. Cushions stack flat. The more compact the stack, the less wrap required and the easier the job. Just don’t stack anything in ways that cause damage or permanent dents.
Remove or secure loose parts. Cushion ties, umbrella cranks, adjustable mechanisms – anything that could poke through wrap or get damaged needs attention. Tie down loose straps. Remove umbrellas entirely or wrap them separately.
How to Wrap It
Start with a base. Cardboard or foam padding under furniture prevents contact with concrete or ground moisture. This also protects the decking from furniture weight concentrated in small spots all winter.
Unroll shrink wrap around the furniture, leaving several feet of excess on all sides. The wrap should overlap itself by at least 6 inches where edges meet. More overlap is better – it creates a stronger seal.
Secure the bottom first. Tape wraps around the base, sealing the bottom edge. Shrink wrap tape works best because it sticks to plastic in cold weather. Regular tape fails. Pull tape tight while applying to remove wrinkles.
Work upward like wrapping a present. Keep the plastic relatively tight but not stretched – heat does the shrinking. Overlap edges as you work up. Tape periodically to hold everything in place.
The top needs extra attention. Bring all edges together at the top center, creating a tent shape. Twist the excess wrap together and tape it securely. The goal is preventing water from pooling anywhere. Everything should slope so water runs off.
Shrinking It Tight
The heat shrinking step transforms loose plastic into tight protective covering. A propane heat gun designed for shrink wrap works best. Regular household heat guns work but take longer and don’t generate enough heat for thick marine-grade wrap.
Start from the bottom and work up in smooth passes. Hold the heat gun 6-8 inches from the plastic and move steadily. The wrap shrinks and tightens immediately. Don’t focus heat in one spot too long or the plastic melts through.
Watch for wrinkles. Heat those areas until they smooth out. The wrap should end up drum-tight across all surfaces. Properly shrunk wrap makes a hollow sound when tapped.
Vents are necessary to prevent condensation buildup. Cut or melt a few small vents in the upper sections after shrinking. These let air circulate without allowing rain in. Place vents on undersides where water can’t enter.
Mistakes to Avoid
Wrapping wet or damp furniture creates mold disasters. Wait for everything to dry completely no matter how impatient you get.
Cheap thin wrap rips easily and won’t last the season. The few dollars saved on material costs more when furniture gets damaged, or the wrap needs mid-winter replacement.
Too much heat melts holes. Keep the heat gun moving. Multiple passes work better than holding heat in one spot.
Forgetting vents traps moisture inside. Even completely dry furniture develops condensation from temperature changes. Small vents prevent this without letting weather in.
Check It Periodically
Look at wrapped furniture after major storms. Check for tears, loose sections, or places where tape failed. Small repairs done immediately prevent bigger problems. Keep extra shrink wrap tape and patching material for quick fixes.
Snow should slide off properly wrapped furniture. If heavy snow accumulates, brush it off gently. Too much weight damages furniture frames or tears wrap.
Keep sharp objects away from wrapped furniture. One accidental puncture lets moisture in and ruins the protection.
When to Unwrap
Late March or early April in New Jersey usually works. Pick a dry day when temperatures will stay above freezing for the foreseeable future.
Cut the wrap carefully to avoid damaging furniture underneath. Start at the top and work down, removing sections as you go. The plastic gets tossed – it’s not reusable after a season.
Inspect furniture as it’s unwrapped. Look for moisture, mold, or damage. Air everything out for a day before using it. Cushions especially benefit from sun and air after months wrapped up.
Shrink wrapping outdoor furniture takes a few hours and some supplies, but the protection lasts all winter. Furniture comes out in spring ready to use instead of needing repairs or replacement. For storing outdoor furniture through harsh NJ winters, shrink wrap beats every other option.